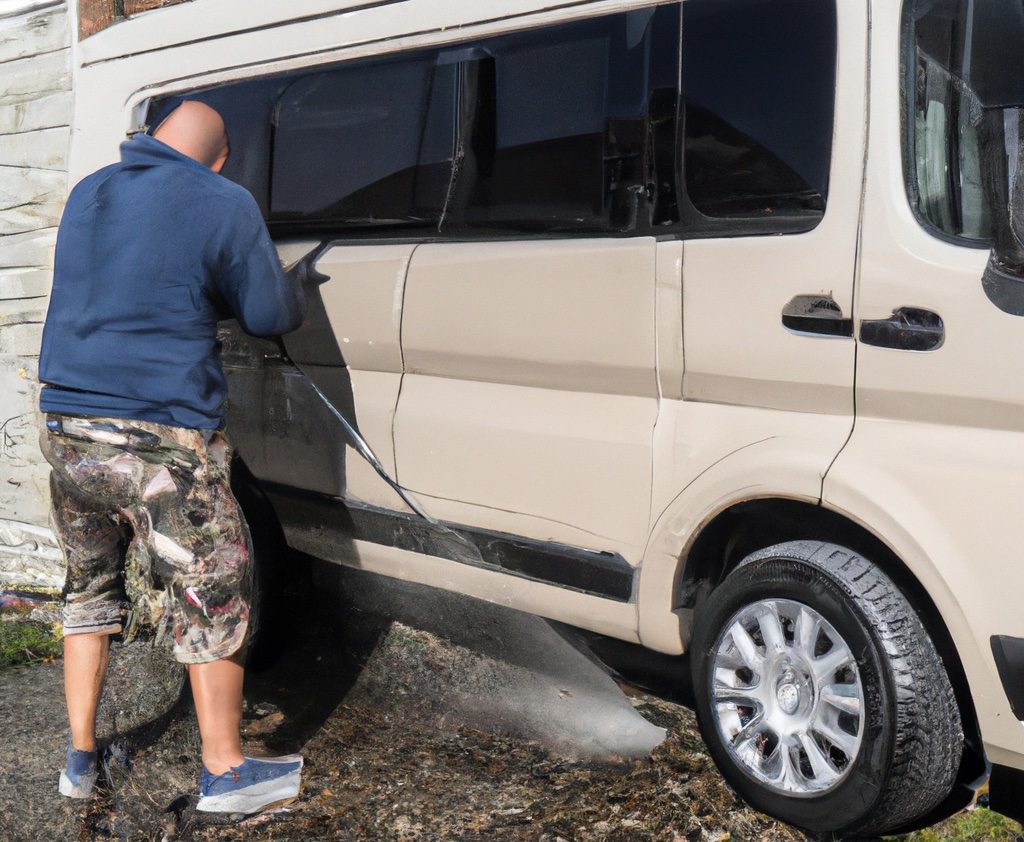
Right, let’s get down to it then, mates. How do you keep your campervan spick and span?
It’s no secret that a clean campervan is the secret to a brilliant holiday, but what do you need to keep it that way? I’ll start by sharing a quick list of all the gear you’d require, then we’ll chat about the steps to keep your vehicle’s outside gleaming, and finally, we’ll pop inside and talk about keeping the interior spotless.
Essentials for a Sparkling Campervan
- Bucket: Or better yet, two. One for clean water and another for your soapy mix.
- Washing-up liquid: A simple squirt will do the trick for most clean-ups.
- Sponge and Brushes: A big sponge for wide surfaces, and a few brushes for those hard-to-reach spots.
- Microfibre cloths: These are excellent for drying and polishing.
- Car Wax: This is your secret weapon to make your campervan shine like new.
- Handheld vacuum cleaner: For all the crumbs and dust inside.
- All-purpose cleaner: To clean your interior surfaces.
- Bin bags: To keep rubbish in check.
Let’s Start Outside
Step 1: The Preliminary Rinse – Start by filling your bucket with clean water and giving the campervan a good rinse. This’ll help remove loose dirt and grit.
Step 2: The Scrub-Down – Now, squirt a bit of your washing-up liquid into the second bucket and fill it up with water. Grab your sponge or brush, and start washing the van from top to bottom. The roof gets dirty too!
Step 3: The Rinse and Repeat – Once you’ve finished scrubbing, give your van another good rinse with clean water. If you spot any stubborn dirt, go back to the scrubbing stage.
Step 4: The Grand Finish – Once you’re happy with the cleanliness, dry the campervan using your microfibre cloths. This will prevent unsightly water spots. And for the final touch? Apply a layer of car wax, following the instructions on the container. Not only will this have your vehicle gleaming, but it also adds a protective layer against the elements.
Now, Step Inside
Step 1: The Big Clear-Out – Start by removing all rubbish and clutter. It’s easier to clean when you’re not manoeuvring around items.
Step 2: The Dusting and Vacuuming – Use your handheld vacuum to clean up dust and crumbs. Don’t forget about the corners and under the seats. Give your soft furnishings a good shake out too.
Step 3: The Scrub – Now, it’s time to clean surfaces with your all-purpose cleaner. Always follow the instructions on the bottle, and make sure it’s suitable for all your interior materials.
Step 4: The Finishing Touches – Once everything is clean and dry, it’s time to organise. Put everything back where it belongs. Cleanliness is easier to maintain in a well-organised space.
And there you have it! You’ve taken the steps to ensure your campervan is the cleanest it’s ever been. So, next time you’re getting ready for a grand adventure, remember: a tidy campervan not only makes for a happier trip, but it’ll also help keep your vehicle in top condition for years to come. Cheerio!
