
Travelling by van gives you regular chances to photograph changing landscapes, quiet stopovers, roadside views and the small details that make a trip memorable. You do not need to be a professional photographer to come home with images that tell the story well, but a little planning and a basic understanding of light, composition and camera settings can make a noticeable difference.
This guide looks at the main things that help with outdoor photography on the road: choosing useful equipment, working with natural light, composing stronger images, understanding the exposure triangle, editing with care and photographing responsibly while you travel.
Equipment Essentials
Van travel usually rewards a fairly minimal approach to camera kit. Space is limited, gear needs to be easy to reach, and anything you carry has to cope with movement, weather and regular use outdoors.
A DSLR or mirrorless camera is a good choice if you want strong image quality without carrying too much weight. Look for a camera with good low-light performance and a wide dynamic range, as this helps when you are photographing bright skies, shaded valleys, sunrise, sunset or mixed lighting around your van.
Lens choice matters more than carrying lots of lenses. A wide-angle lens, such as a 10-24mm, works well for open landscapes, campsite scenes and wider views from walking routes. A telephoto lens, such as a 70-200mm, is useful when you want to pick out distant subjects, compress layers in the landscape or focus on details you cannot easily get close to.
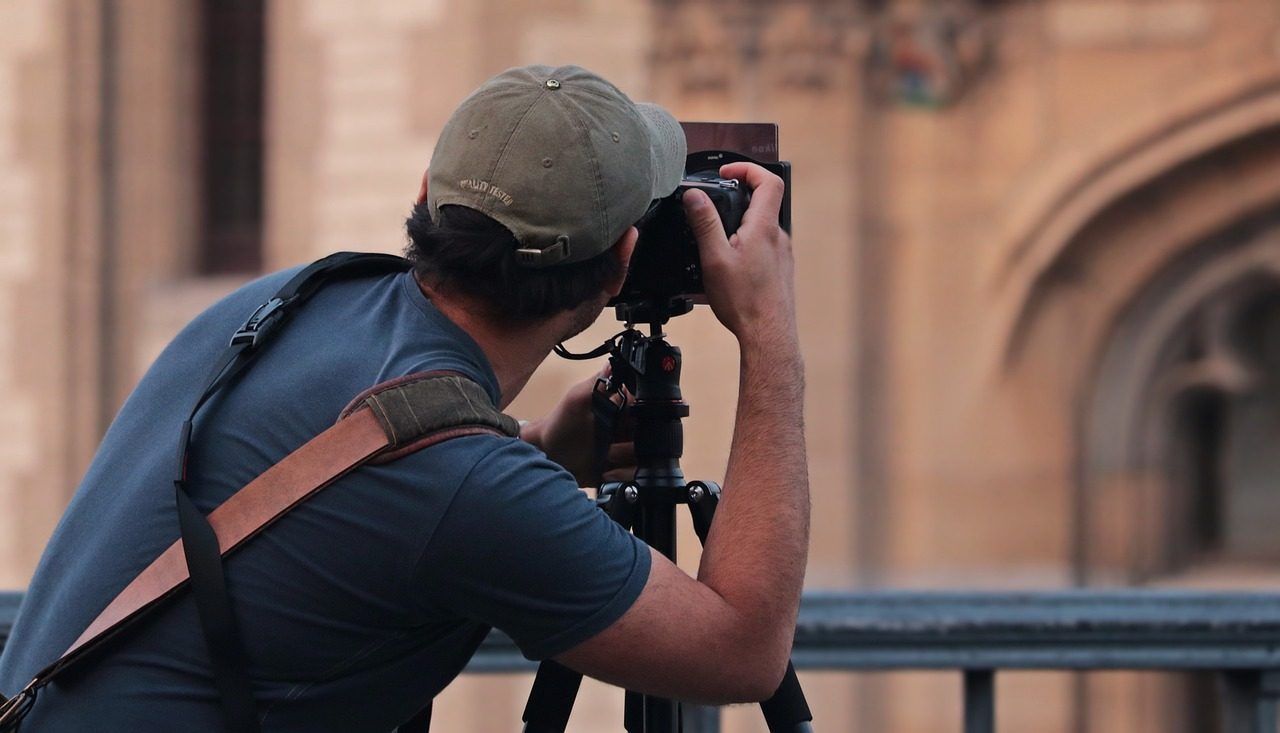
A sturdy tripod is worth carrying if you enjoy long exposures, low-light photography or sharper images in windy conditions. It does take up space, so choose one that is stable enough to be useful but not so awkward that you leave it packed away. A polarising filter can also help with skies, reflections and water, particularly on bright days.
It is also worth protecting your equipment properly. A padded camera bag with a waterproof cover is useful in a van, where kit may be moved around, stored under seats or taken out in unpredictable weather.
Understanding Light
Light is one of the biggest influences on outdoor photography. The same place can look completely different depending on the time of day, the weather and the direction you are facing.
The golden hours, shortly after sunrise and before sunset, often give soft, warm light with more shape and depth. This can be especially useful when you are parked near a viewpoint, walking early from a stopover, or returning to the van at the end of the day.
That said, you do not have to avoid the middle of the day. Harsh light can be more difficult, but it can still work for strong shadows, high-contrast scenes, graphic details and documentary-style travel photos. The blue hour, just before sunrise or after sunset, can also be useful when the light is cooler and quieter, especially for wider scenes and settled evening shots.
When travelling, you may not always be in the right place at the ideal time. Rather than waiting for perfect conditions, look at what the available light is doing and work with it. Move position, change your angle, include shade, or focus on smaller details if the wider view is too flat or too bright.
Mastering Composition
Composition is about arranging the elements in your frame so the image feels clear and intentional. It helps the viewer understand what you wanted them to notice.
The rule of thirds is a simple place to start. Imagine your frame divided into a 3×3 grid, then place your main subject along one of the lines or where the lines meet. This can create a more balanced image than placing everything in the centre.
It is only a guide, not a rule you have to follow every time. Symmetry can work well for roads, tracks, reflections, bridges and van interiors. Leading lines, such as paths, fences, rivers or road edges, can draw the eye through the image. Empty space can also be useful when you want to show scale, weather or a sense of distance.
With van life photography, it is easy to photograph the van in the same way repeatedly. Try changing the distance, height and viewpoint. Step back to show the setting, move closer for details, or include people, kit, boots, maps and small signs of travel where they add context without making the image feel staged.
Technical Proficiency
You do not need to understand every camera setting at once, but learning the exposure triangle gives you much more control. The three main parts are aperture, shutter speed and ISO.
Aperture controls depth of field. A wide aperture, shown by a low f-number, gives a shallower depth of field and can help isolate a subject from the background. This is useful for portraits, details around camp, food, kit or close-up travel moments.
Shutter speed controls how motion appears. A fast shutter speed freezes movement, while a slower shutter speed can create blur. Slow shutter speeds can work well for waterfalls, moving water, night skies or traffic trails, but you will usually need a tripod to keep the rest of the image sharp.
ISO controls how sensitive the camera is to light. A higher ISO helps in darker conditions, but it can introduce noise into the image. This is often a trade-off. Sometimes a slightly noisy image is better than missing the shot, especially when you are photographing real moments while travelling.
The more you practise, the more natural these choices become. Try taking the same scene with different settings so you can see how aperture, shutter speed and ISO change the final image.
Post-Processing
Editing is part of the photography process, but it works best when it supports the image rather than overwhelms it. Software such as Adobe Lightroom or Capture One can help you refine exposure, colour, contrast and detail.
White balance is a good place to start if the colours look too warm, too cool or slightly unnatural. Adjusting highlights and shadows can help recover detail in bright skies or darker foregrounds. A small amount of clarity can bring out texture in landscapes, but too much can make an image look harsh.
The aim is usually to bring the photograph closer to how the scene felt, not to change it beyond recognition. A lighter touch often suits travel and outdoor photography better than heavy processing, especially when the image is part of a real journey rather than a staged shoot.
Ethics of Outdoor Photography
Outdoor photography comes with responsibility. The places we photograph are often shared with other visitors, local communities and wildlife, so it is worth slowing down and thinking about the impact of getting the shot.
Follow leave no trace principles, respect local customs and regulations, and avoid disturbing wildlife. Do not damage ground, block access, ignore signs or pressure a location just because it looks good in a photograph.
This matters even more when travelling by van or campervan. Parking considerately, keeping access clear and being aware of local restrictions helps protect the places people enjoy visiting. A good photograph is not worth creating problems for residents, landowners, other travellers or the environment.
Final Thoughts
Good outdoor photography comes from a mix of practical preparation, technical understanding, observation and respect for the places you visit. The more time you spend looking carefully, the more you notice: changing light, small details, weather, movement and the quiet moments that often say the most about a trip.
Pack the gear you will actually use, keep it protected, practise with your settings and work with the conditions in front of you. Over time, your photographs become more than records of where you went. They become a visual account of how the journey felt.